Decadent Chocolate Peanut Butter Rice Krispie Cups
One afternoon, I was staring at a half-empty jar of peanut butter on the counter while my kids rummaged through the pantry asking for a “fun snack.” You know the kind—something sweet, something crunchy, something that feels special but doesn’t require me to pull out every mixing bowl in the kitchen.
That’s when I remembered the treats my grandmother used to make: buttery Rice Krispie squares that she pressed into a pan and drizzled with just a whisper of melted chocolate.
Instead of sticking with the old squares, I decided to give them a little upgrade. Out came the muffin tin, a bag of marshmallows, and those lonely chocolate chips sitting in the back of the freezer. By the time the mixture was pressed into cups and topped with a glossy layer of chocolate, the kitchen smelled like roasted peanuts and warm caramel. The kids hovered, waiting for the chocolate to set, and I couldn’t resist sneaking one while it was still gooey.
These treats hit all the right notes—creamy peanut butter, crunchy cereal, soft marshmallow, and that smooth chocolate finish. They’ve since become my go-to recipe for bake sales, quick desserts, and even those late-night “I need chocolate now” moments.
Short Description
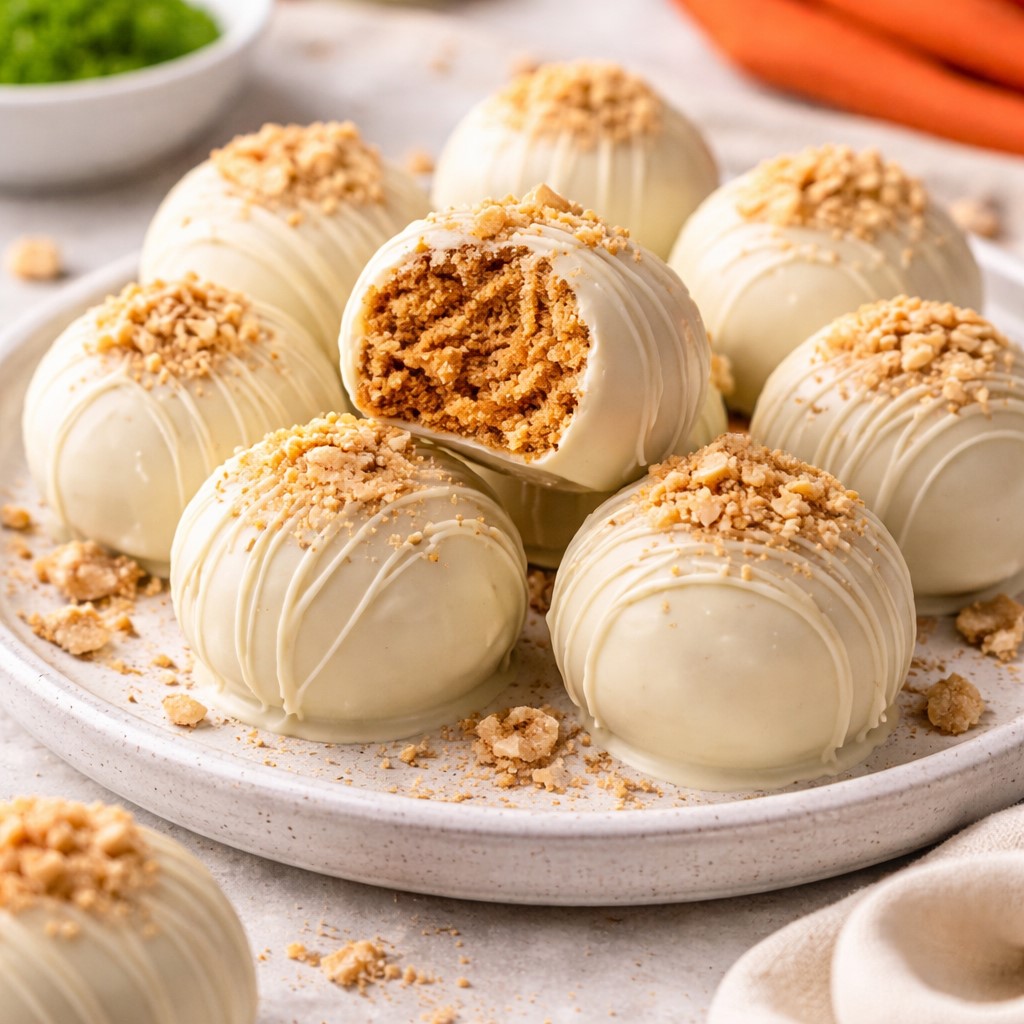
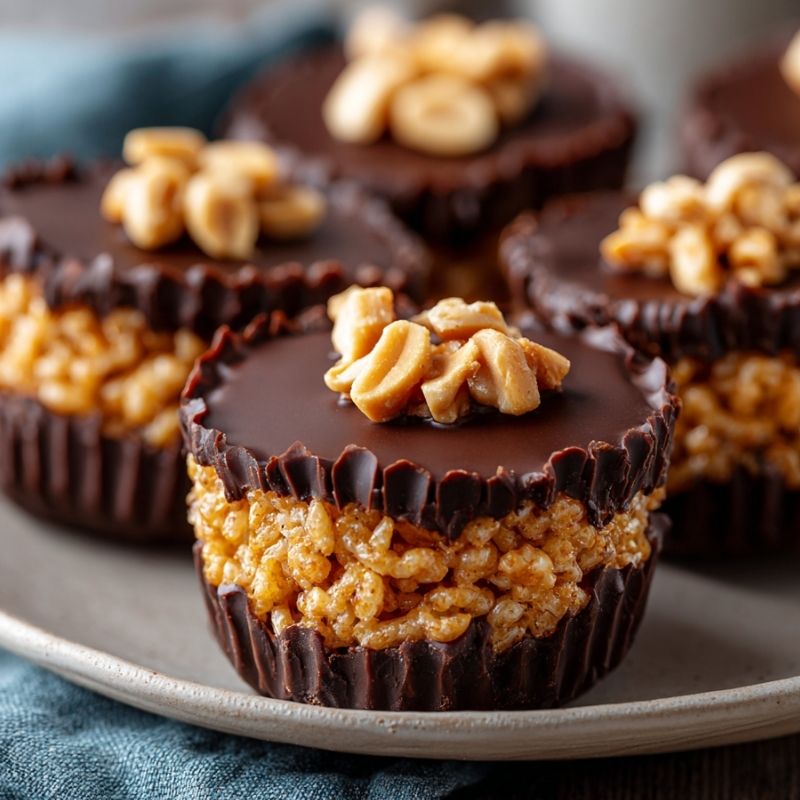
Chocolate Peanut Butter Rice Krispie Cups are the perfect no-bake treat. With a chewy peanut butter base, crispy texture, and smooth chocolate topping, they’re easy to make and even easier to love.
Key Ingredients
- 3 cups Rice Krispies cereal
- 1 cup creamy peanut butter
- ½ cup unsalted butter
- 1 cup mini marshmallows
- 1 cup chocolate chips
- ½ teaspoon vanilla extract (optional)
- Pinch of sea salt (optional)
Tools Needed
- Medium saucepan
- Large mixing bowl
- Muffin tin with paper liners
- Microwave-safe bowl
- Rubber spatula
Cooking Instructions
Step 1: Melt the Base
In a medium saucepan over low heat, melt the butter and marshmallows together, stirring constantly until smooth and glossy.
Step 2: Add Peanut Butter
Stir in the peanut butter and vanilla (if using). Mix until creamy and fully blended.
Step 3: Mix with Cereal
Place the Rice Krispies in a large bowl. Pour the peanut butter mixture over the cereal and gently fold until every piece is coated.
Step 4: Shape the Cups
Line a muffin tin with paper liners. Spoon the mixture evenly into each cup and press gently with the back of a spoon to flatten.
Step 5: Add Chocolate Layer
Melt the chocolate chips in a microwave-safe bowl, heating in 20-second intervals and stirring until smooth. Spread the melted chocolate over each cup and sprinkle with sea salt if desired.
Step 6: Set and Serve
Let the cups cool at room temperature for about 20 minutes, or refrigerate to speed up the process. Once firm, peel off the liners and enjoy.
Why You’ll Love This Recipe
Chocolate and Peanut Butter Bliss: The ultimate flavor duo in every bite.
No Bake, No Stress: Quick, simple, and oven-free.
Perfect Texture: Chewy base, crisp cereal, smooth chocolate topping.
Kid-Friendly: Easy enough for little helpers to join in.
Make-Ahead Ready: Great for parties, lunchboxes, or late-night snacks.
Mistakes to Avoid & Solutions
Overheating the Marshmallows: This can make the mixture stiff. Always melt on low heat and stir constantly.
Not Pressing Evenly: Press too hard, and the cups turn dense; too light, and they fall apart. Use gentle, firm pressure with the back of a spoon.
Chocolate Seizing: If chocolate overheats, it clumps. Always melt in short bursts and stir in between.
Skipping Liners: The mixture sticks badly without them. Always line your muffin tin.
Rushing the Cooling: Cutting corners on setting time can make them messy. Chill briefly if you’re in a hurry.
Serving and Pairing Suggestions
Serve as bite-sized desserts at parties or bake sales.
Pair with cold milk for kids or coffee for adults.
Try them on a dessert platter alongside fruit skewers and brownies.
Perfect for lunchboxes or after-school snacks.
Storage and Reheating Tips
Store in an airtight container at room temperature for up to 3 days.
For longer storage, refrigerate up to a week.
Freeze individually wrapped cups for up to a month. Thaw at room temperature before serving.
Avoid microwaving—they’re best enjoyed cold or at room temp.
FAQs
1. Can I use chunky peanut butter?
Yes, but it will change the texture. Creamy peanut butter makes the cups smoother, while chunky adds extra crunch.
2. Do I need to refrigerate them?
Not required, but refrigeration helps them set faster and last longer.
3. Can I make these dairy-free?
Yes, use dairy-free butter, vegan marshmallows, and dairy-free chocolate chips.
4. What can I use instead of marshmallows?
Try brown rice syrup or honey mixed with nut butter for binding, though the texture will be slightly different.
5. Can I double the recipe?
Absolutely. Just use two muffin tins or press into a lined 9×13 pan for bars.
Tips & Tricks
Spray your spoon lightly with cooking spray before pressing the mixture—it won’t stick.
For a glossy chocolate finish, stir in 1 teaspoon of coconut oil when melting the chocolate.
Add a sprinkle of crushed pretzels for a salty crunch.
Make mini versions in a mini muffin tin for bite-sized treats.
Recipe Variations
Nutella Cups: Swap half the peanut butter for Nutella for a chocolate-hazelnut twist.
S’mores Cups: Mix in crushed graham crackers with the Rice Krispies and top with mini marshmallows before adding the chocolate.
Almond Butter & Dark Chocolate: Use almond butter instead of peanut butter and dark chocolate for a richer, slightly less sweet version.
White Chocolate Drizzle: After topping with chocolate, drizzle melted white chocolate in a zig-zag pattern for a bakery-style finish.
Final Thoughts
These Chocolate Peanut Butter Rice Krispie Cups are playful enough for kids but elegant enough to share at a dinner party. I love how they take me right back to those old-fashioned cereal bars yet feel just a bit more special with that shiny chocolate top. The balance of textures—crunchy, chewy, creamy—makes each bite satisfying in a way that keeps you reaching for just one more.
They’re also wonderfully flexible, easy to tweak depending on what’s in the pantry, and forgiving enough that you can make them with kids without worrying about perfection. Each time I peel back the paper liner, it feels a little like unwrapping a present.
Decadent Chocolate Peanut Butter Rice Krispie Cups
Course: DessertDifficulty: Easy12
servings15
minutes10
minutes20
minutesChocolate Peanut Butter Rice Krispie Cups are the perfect no-bake treat. With a chewy peanut butter base, crispy texture, and smooth chocolate topping, they’re easy to make and even easier to love.
Ingredients
3 cups Rice Krispies cereal
1 cup creamy peanut butter
½ cup unsalted butter
1 cup mini marshmallows
1 cup chocolate chips
½ teaspoon vanilla extract (optional)
Pinch of sea salt (optional)
Directions
- In a medium saucepan over low heat, melt the butter and marshmallows together, stirring until smooth and glossy.
- Stir in the peanut butter and vanilla (if using) until fully combined and creamy.
- Place the Rice Krispies in a large bowl, pour the peanut butter mixture over, and gently fold until evenly coated.
- Line a muffin tin with paper liners, spoon the mixture into each cup, and press gently with the back of a spoon to flatten.
- Melt the chocolate chips in the microwave in 20-second intervals, stirring until smooth. Spread over each cup and sprinkle with sea salt if desired.
- Cool at room temperature for 20 minutes, or refrigerate to set faster. Once firm, peel off the liners and enjoy.